Showing posts with label tutorials. Show all posts

Monday, April 16, 2012

Over Dyeing Floss

Here is another great tutorial I ran across on over dyeing floss. I can't wait to give this a try. 
Thanks Keri for such a great tutorial. 


I like to place in my blog so I can find the again easily and also share the great finds.

Saturday, March 24, 2012

How to Bind a Hooked Rug from Ginger

Here is the link to a wonderful tutorial.
Gives great photos for using twill tape in binding your rug.
Thanks Ginger for this great tutorial.

Monday, October 31, 2011

Rug Hooked Cat Purse


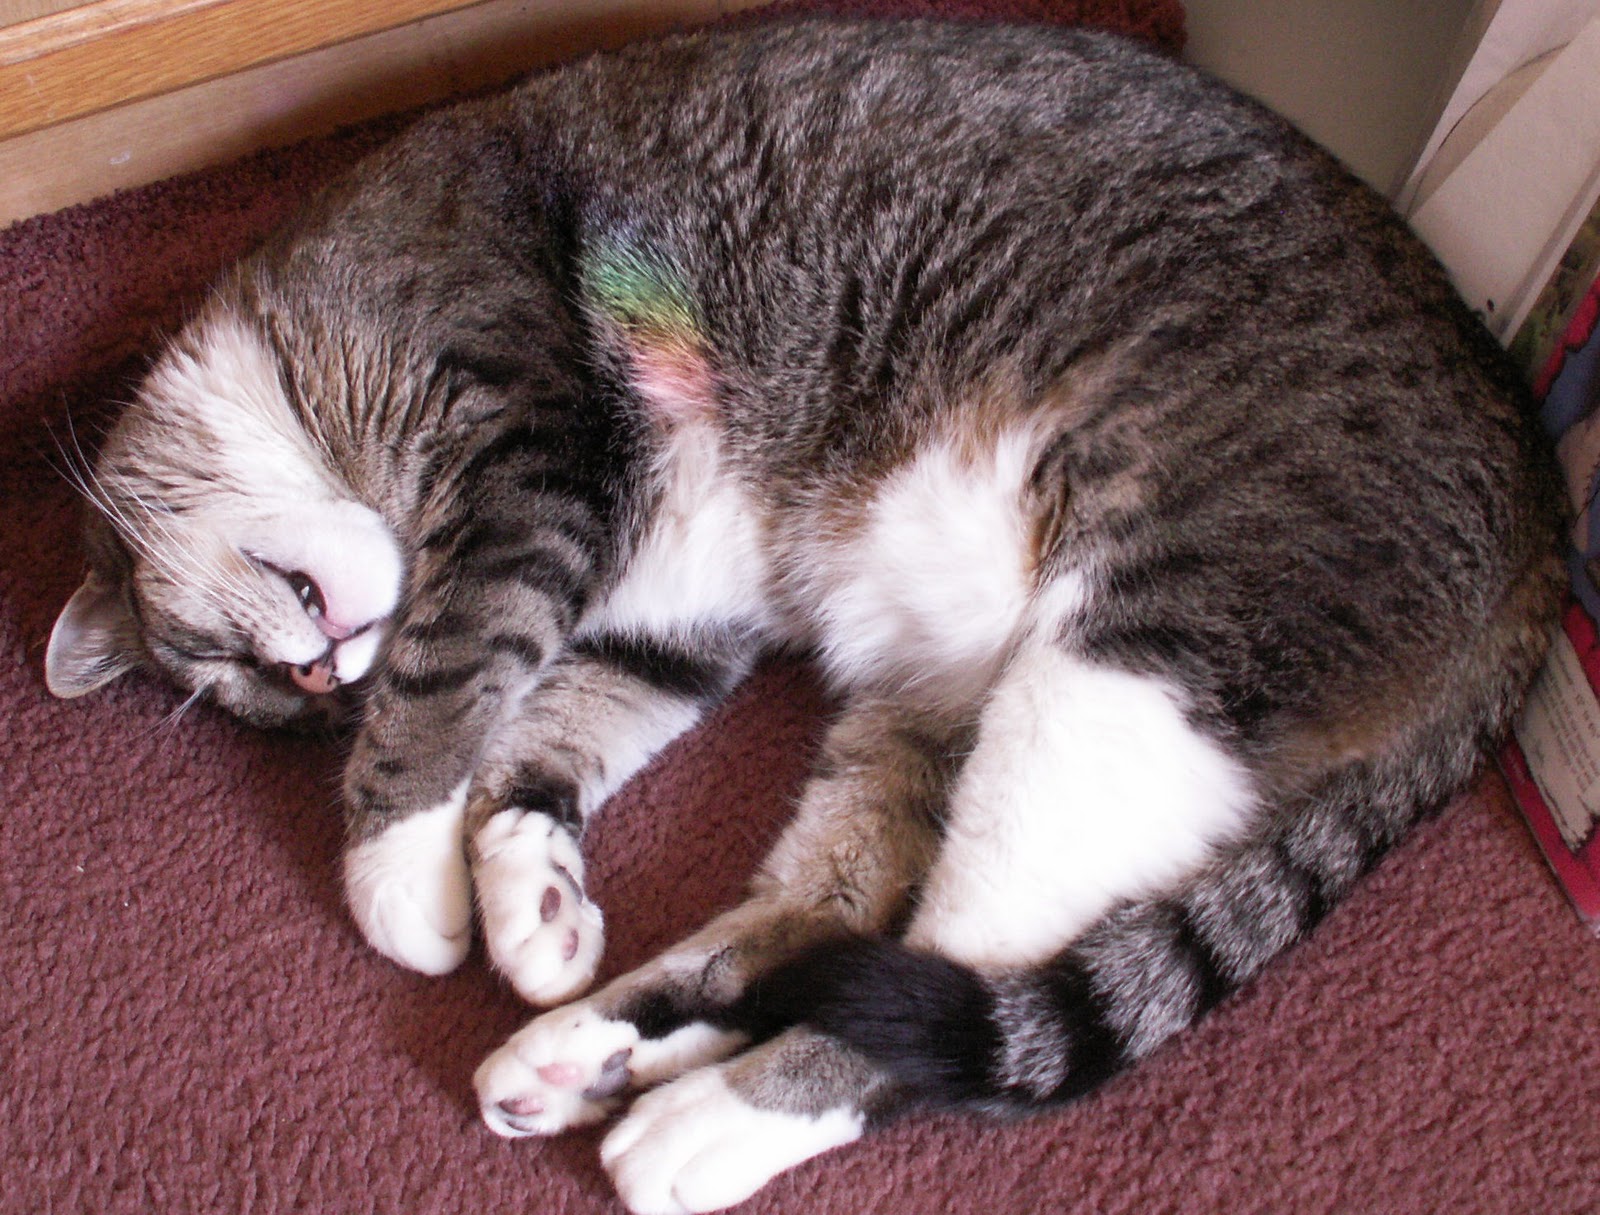
Our cat is the model for my Rug hooking project this week.  I am in the process of assembling a Rug Hooked Cat purse. I love when what I see in my creative minds eye actually comes together. 
This purse is coming along nicely. I hope to be able to teach how to make thispurse in a pattern. 
It may be about time to do another online Tutorial as well. So look for a photo soon on a wonderful 
Rug Hooked Cat Purse.


Sunday, May 1, 2011

Jam Jar dyeing from Cotton Eyed Jo

What a fun tutorial on how to do use some of that left over dye.
Thanks Jo will have to give this Jam Jar Dyeing a try.

Wednesday, April 13, 2011

Wool Dye Workshop

I just had to share this link. 
Susan thank you so much for taking the time to create this blog post. 
You did a great job.

Friday, February 4, 2011

A fun Tutorial From Betty

Primitivebettys is a great blog from my friend Betty. 

You will love this fun Primitive needle punch tutorial!

Click on title of post to head there.
Thanks Betty

Friday, August 20, 2010

Rug Hooking Basics

Rug Hooking Basics
The art of creating rugs, and other things, by pulling fiber loops through an open weave fabric. You can decorate clothing, that has an open weave, with the art of rug hooking.
Tools
Backing Fabric: Open weave fabrics. Linen, Monks cloth, burlap fabrics are the most common foundation used.
Loop Material: Wool strips and wool yarn. Most common.
Rug hook: A hook that looks like a crochet hook. Most have a wooden base. Many sizes and kinds available. The hook you choose should correspond to the width of the strips you are using in your project.
Rug Frame: Used to keep the foundation fabric tight so you can push the rug hook through the woven fabric.
Loops are pulled through the backing fabric with a rug hook. Attention must be given to the height of loops. The goal is to try to have even height loops with spacing of loops consistent. You do not want the foundation to buckle because you are hooking to tight or have the foundation show through because you are hooking to loose. The loops if hooked right will actually keep the strip tight enough that it will not easily unloop.

Many patterns are available for Rug Hooking artists. Most designs come drawn onto the foundation of your choice. The designer must keep the design consistent with the warp and weave of the fabric backing. The pattern will usually come already sewn or surged around the outer edge to keep it from unweaving. Some patterns are just the paper pattern and the pattern must be transferred to the backing with a marker. Most rug hookers use rub a dub markers to draw on the backing. There are primitive designs usually hooked with wider width wool strips, like a #8 cut. Or finer designs hooked with rug yarn or other yarn.  Or with very narrow strips of wool #2 or #3 cuts.  (see chart below) You can hook with what ever fiber you want.

The wool strips can be cut with a good pair of scissors but most rug hookers will purchase a wool stripper. There are various wool strippers on the market. There are cutting wheels in the wool stripper that cut the strips into certain widths. There is a number scale for width of strips that correspond to inch scale measurements. Primitive rug hookers use wider width for their designs. You get more detail the finer your cut of wool strip.

The Scale below shows you the cutter wheel # you would need to cut the widths shown
#2 cuts 6 strips 1/16" wide
#3 cuts 6 strips 3/32" wide
#4 cuts 4 strips 1/8" wide
#5 cuts 3 strips 5/32" wide
#6 cuts 3 strips 3/16" wide
#7 cuts 2 strips 7/32" wide
#8 cuts 2 strips 1/4" wide

The backing fabric (which your pattern is drawn on) must be tight to open the weave so you can see the holes between the warp and weave threads. There are many frames available on the market. You can start with a good embroidery hoop. The thicker wooden kind would work best but a real rug hooking frame will be far easier to work with. The link below shows the, on a curve, gripper strips that are preferred to hold the pattern in place. A gripper strip has many metal pieces, kind of like a hairbrush but metal pieces that grip onto your fabric backing.  The grippers MUST be on a curve in order to work. There are frames that just sit in your lap, or floor stands to hold the frame or lap stands to hold the frame There must be room under the frame for your hand to work under the frame. Both hands are used to rug hook. Since you are using both hands you can see why a frame would be preferred over an embroidery hoop.
Here is my favorite frame so far. It has a locking system which seems to keep the fabric nice and tight with out loosing up.
The wool strips are brought through the backing fabric with the rug hook.  

The rug hook is inserted in the hole created as the warp and weave cross. Care is given to not put the hook through individual threads of the warp and weave threads.  Working from under the pattern you place the wool strip with you fingers under the hole you want to bring a loop through and at an angle push the hook through the hole from the top side, grab the wool strip from your finger and pull it up to form a loop. The wool is placed over the hook from the bottom of the backing fabric and the hook pulls the loop through the backing. The wool strip is pulled up taller then needed and then pulled back down to the height desired. This will help you to be consistent with height of the loops. A good rule is the loops should be the height of the hook or the width of the wool strip. A rug hooker will develop their own preferred style as they grow in the art of rug hooking. There are many hooks on the market here is a link that will show you some.


Most rug hookers start hooking the pattern design from the middle outward. Hooking the outside of each element first then working toward the middle of the element in the drawing. If you were drawing a design you would draw the outside then the inside details. That is how you would hook. 

The edges of the hooked piece are finished in many different methods. Most the edge is folded under and the backing is covered either with whipping wool around the edge, whipping yarn around the edge or sewing wool over the edge. These are just a few ways you can finish a rug.

Are you interested in learning more about the art of rug hooking? I would suggest getting a book. You could start with one from your local book store or even better borrow one from your local library. That is how I started. The next step would be to assemble the tools of the trade. You could purchase a kit. Most of the kits will have the design on the backing, enough wool or yarn to finish the design and many will come with a hook. At that point you would only need to purchase something to hold the backing tight.  

This art form is rather expensive. Wool, patterns, backing fabric, wool strippers, rug hooks and rug frames are the tools of the trade. Every one of them is on the expensive side. 

Knowledge of what types of wool to get and coloring planning are things you will have to learn. 

Links:
http://www.rughooking101.com/  A great site for many of the rug hookers needs
http://www.searsportrughooking.com  Another good site for the rug hookers needs
http://www.jeannesullivandesign.com/CustomerCare/Tutorials/RugHooking.aspx       This is a good visual of how to rug hook

Tuesday, February 9, 2010

Overdyeing Cotton floss

Ginger from Primitives by the Light of the Moon has a great tutorial on overdying cotton floss. 
Hop on over there and learn you will be glad you did. 


JoEllen

Monday, June 22, 2009

Thinking about doing

I think I am going to try to put together a booklet on how to do 3-D or Dimensional Rug hooking. This would be a handie little guide that would include the in's an outs of this craft. Including tips, assembling stitches etc.

Right now it is just in the thinking stage.

JoEllen

Monday, June 15, 2009

Tuesday, March 31, 2009

What do you think of these funny bees???


These crazy bees were a lot of fun to create. My favorite is the one on the top left. I think that maybe God should have made bees this color.

Let me know what you think.
I may be offering these as an extra to the students enrolled in my Tutorial.

The two on the top are a bit of a challenge to create. So I think these would be a intermediate class not a beginner class.

For those signed up in my tutorial if you pop in here let me know if you would like me to teach these.

JoEllen

Sunday, March 29, 2009

Hairless Linen for Dimensional Rug Hooking

Hairless Linen will work with dimensional rug hooking.

Things to keep in mind.
There is not as much give in linen. This can be a plus and a minus.

My experiment was with a #6 cut. When using Linen for a dimensional piece you will find that you do not have to hook in every hole. In fact at times I found it hard to hook as close as I thought I should be. Packing your loops in a 3-d stuffable dimensional piece is a must.

I did like that the cut ends did not seem to unravel as much as monks cloth does. Thus not as many threads hanging out as you sew.

I think it was harder to assemble the piece I was working on. This I believe is due to the linen not stretching as much as monks cloth does.

Linen is easy to sew with a sewing machine. The sewing machine likes to pull the strand of the monks cloth some times.

JoEllen


Friday, March 27, 2009

Bee Skep Dimensional Rug Hooking Tutorial


So excited to share the news of my upcoming Online Tutorial on Dimensional Rug Hooking.

Bee Skep 3-D Rug Hooking

This will be a interactive on-line tutorial. By this I mean through a questions and answers format we will interact. This will be a group atmosphere. Step by step photos will help you see how this form of Rug Hooking is done.

To take part in the Bee Skep Tutorial you must have a basic knowledge of how to rug hook. You would also need to have access to a sewing machine and a Paypal account. The cost for the tutorial is $10.00. You will need to have an adobe reader for the pattern to be sent to you. Adobe reader is free online.

Please Email me to enroll in this class. befruitful76@yahoo.com Please title your email Bee Skep Tutorial. After you enroll in this class I will send a Paypal invoice for the cost of the tutorial. So I suggest enrolling early.

Tentative start date is April 14
This could change.

A list of needed materials will be emailed to all enrolled students.

Things in the tutorial
Best Backing Fabrics
Transferring the pattern
Preparing Backing for hooking
How to hook a dimensional piece
Assembling stitches for all stages
Helpful relevant Tips and Tricks
Lots of Photos

JoEllen

Sunday, March 22, 2009

Trying Hairless Linen

I have been asked whether hairless linen will work in Dimensional Rug hooking. I am working on a piece right now that is drawn on hairless linen and will keep you posted on what I think of this backing for a 3-D dimensional piece.

Progress on the Bee Skep Pattern. This pattern should be available next week.

Today finds us traveling to a new back yard. On our way to Las Cruces New Mexico.

JoEllen

Monday, March 16, 2009

Progress

The bee Themed piece is coming along nicely. All the hooking is done and I did get to start on the assembly. This is going to work.

Some times with dimensional rug hooking when you first envision something it just doesn't turn out as you envision it. I can say this doesn't seem to happen often though.

Will post a photo soon of the finished project. Look for more details about the on-line tutorial to be posted soon.

Would love to hear from you if you are interested please post a comment.


JoEllen

Tuesday, February 24, 2009

Tips for Dimensional Rug Hooking

Here are a few tips for dimensional rug hooking.
I will be adding to this list
  1. Hook tight. When you go to assemble a 3-d piece you will see the backing if you do not hook tight enough. In fact you will need to pack you loops. A no no in the rug hooking world.
  2. I suggest using a backing close to the same colors that you are using to hook your project. Like brown for my Indian Corn pattern.
  3. So far I prefer using monks cloth (the kind used for swedish weave, it is loosely woven) for my dimensional rug hooking. It is a bit stretchy which can be a bonus.
  4. You can leave the end pieces on your strips of wool (worms) on the under side if you want because they will be inside of your project. In fact my first patterns I suggested to do this.
  5. Try to use plump wool. Scroll down to the Easter Eggs. The very first photo shows some loops that do not lay right. I am sure when you look at the photo you will see which ones I am talking about. This wool was to thin. I am glad I left that Easter Egg that way because it shows what I am talking about very well.

Saturday, February 21, 2009

Next Tutorial

I am working on a few things to see if they will work for my next tutorial on Dimensional rug hooking. Want something a beginner could do for this one.

If you have any question about Dimensional Rug Hooking feel free to ask in the comment section under this post or email me.

Stay tuned.

JoEllen

Tuesday, February 17, 2009

Last Years Online Class


Last Year I offered and online tutorial to the ladies in one of the groups I was involved with. The below pictures are the results of all the hard work of the ladies who completed their Rug Hooked Easter Eggs.

The name of the person who hooked the egg is below each picture.


Pam

Pam

Mimi

Lucy

Lois


Karin

Jo

Gayle

Dianne

Lisa


Brenda

Monday, February 16, 2009

What is Dimensional Rug Hooking

I am often asked what Dimensional Rug Hooking is. So here is my attempt to describe this art form.
To me this means a rug hooked, stuffable, three dimensional (3-D) creation.

In the near future I will be having on-line classes on how to create Dimensional Rug Hooked items. These classes will be open to only those who sign up for the class.

I will begin with a beginners class.

You should know how to rug hook. As I will not be teaching the basics of rug hooking.

But I will be teaching a simple project that most rug hookers should be able to complete easily.

Stay Tuned as I hope to have this first project class open soon.

JoEllen


LinkWithin

Related Posts Plugin for WordPress, Blogger...