Showing posts with label befruitful kreations. Show all posts

Saturday, November 2, 2013

Tips For Hooked Pumpkin

While hooking this special order pumpkin I realized that I wanted to share a few tips on the process of making the pumpkin. 

Since you must hook snug and close together it is easier to use a smaller hook. I was using my primitive hook and it was a real work out to use it for this project. I pulled out my first hook a simple hook with a sponge covered handle. It was so much easier to hook close with this.
When assembling the pumpkin I find this needle a must. 
Here is a link for, one place you can find, these Jumbo darning needles. I have found the metal ones are a must as I break the plastic ones. Clover also makes a case for these to go in which I use to store mine.
 
 The larger the thickness of the stick stem the easier it will be to close the monks cloth around it. 

 If you can find the colored monks cloth I would suggest using brown or rust for these pumpkins. 
 
If you have a photo of a pumpkin you have made from my pattern and want me to share it here in my blog add a commit saying so and we will work out how to get me your photo.

Wednesday, March 28, 2012

Witches Boot

Started my next Witches Boot design yesterday. What a fun design. Already found a couple of design flaws and corrected them. Love the colors of the Valdani 3 strand floss. Still undecided whether I like punching with the 3 strands. Thought I would try the smaller tip for the cameo ultra punch but had a hard time getting the threader into the hole so went back to the medium tip.
 
 I would really like to know if anyone has tried using the Perle Cotton size 12 for needle punch. In the description they mention that it can be used for needle punch. But there are so many different kinds of needle punches on the market. So think I will be investing is a few skeins to see if it will work for my purposes.


Tuesday, March 27, 2012

Onto the Next

The newest punch needle witches boot design is just begging to be drawn up today. One more draft to get the design just right and then I can transfer it to the weavers cloth. Can't wait to get punching on this with the new Valdani Floss. I will be creating these Witches Boot designs into patterns. Hope to do this over the summer months. Also hope to create my Jack O lanterns into a pattern as well. This will be soft sculpture. 


Monday, March 12, 2012

Valdani Floss

The colors of Valdani Floss have intrigued me for a long time. I usually use 6 strands of floss for my needle punch projects. The skeleton needle punch project I am working on has caused me some issues. The 6 strands of floss sometimes wants to hang up in my medium tip for the cameo punch needle I use. This frustration along with the long standing desire to try Valdani floss  prompted me to go ahead and order the 3 strand floss. I also like the idea that there are lots of yards on the ball cone. I love some of the creations I have seen from using this 3 strand floss. I have found that in rug hooking a #5 count will give me much greater detail then the normal primitive cut of #8 or #6 that I usually use. So I am expecting to have the same happen with needle punch. I am trying to find the perfect colors and floss for my witches boot series of needle punch patterns. I may try the 6 strand Valdani but will see how I like the 3 strand first. 

Often we wonder what people are talking about when they mention # cuts in rug hooking

Here is a chart that explains the cutter head sizes for rug hooking.
No. 2 cuts 6 strips 2/32" wide
No. 3 cuts 6 strips 3/32" wide
No. 4 cuts 4 strips 4/32" wide
No. 5 cuts 3 strips 5/32" wide
No. 6 cuts 3 strips 6/32" wide
No. 7 cuts 2 strips 7/32" wide
No. 8 cuts 2 strips 8/32" wide

Sunday, March 4, 2012

Colorado

It looks like we may get our wish to be in Colorado for the summer months. We love to be on our property for the summer months. Watching all the wildlife and just soaking up the quiet. Plus the added bonus of seeing family!!!! Our new job here in Texas should allow us to take the summer off of working. Time for creating over the last year has been very limited due to all of our fun adventures working. Last summer we were working outside of Yellowstone park not far from West Yellowstone. So we played in the park on our two days off a week. Working in distribution for Christmas Trees in Arizona is how we spent the fall and Christmas seasons. This is a very busy season as it starts with the selling of pumpkins for Halloween.
The job we are at now might provide some time for creating once we get all settled in. It is a 24/7 job and we are trying to work out our schedule to cover the hours. We are gate keepers for one of the drill sights in Texas. I have mixed feelings about this but alas we need to work. I also have mixed feeling about selling Christmas trees. But again I need the work and I am glad for it.  
If you are in Colorado and would like to touch bases with me this summer contact me. 
I would be happy to teach dimensional rug hooking.
 Also would like to hook up with fellow rug hookers never Pueblo or Canyon City. Our property is not far from the little town of Westcliffe.
 !

Sunday, January 29, 2012

Witch's Boot Designs


The photos above are of several of my witch's boot needle punch designs. 
I am working to get these into pattern form. 
I also have several other designs in the works for this series.

Saturday, December 17, 2011

Lizzy Beth Bunny


Many people have asked that this be made into a pattern.
I hope to make this happen next month.

Bunny Lizzy Beth is a 14 ½” tall hand rug hooked free standing doll.

Here is a needle punch version of this sweet doll. She was a lot smaller. 


SOLD

Monday, November 21, 2011

Rug Hooked Cat Purse Pattern

Rug Hooked Cat Purse


Been working to get this pattern written so I can share with all the cat lovers who have a 
passion for rug hooking. This cat purse is approximately 9" wide by 7" high. These measurements do not include the cat tail handle. This is a paper pattern with lots of pertinent photos to help you create your own cat purse. Hints for how to create your own unique cat purse based on a cat of your choice. Detailed instructions are included for how to assemble your cat purse. 
Note this is a rug hooking project not latch hook. You need to know how to rug hook to create this.
 
Cost $14.95 free shipping USA
contact me for out of USA purchases.
If you would like me to make you a purse from a photo of your cat email me.


Wednesday, November 16, 2011

Rug Hooked Cat Purse Pattern

Today finds me finally working on the instructions for my Rug Hooked Cat Purse. 
I am including a lot of directions in how to make this purse your own. If you have never purchased one of my rug hooking patterns then you need to know that I include a lot of photos in my patterns. My motto is photos speak far louder then the written word. I am a visual person. Thus the photos. I am adding directions on planning your own personal cat purse. My cat is a black and grey tabby. Maybe yours is a Siamese. I am explaining how to achieve your own cat purse. Isn't that part of the fun of rug hooking taking something and making your own personal hooked piece from it. 
Not sure when the pattern will be on the market but I hope real soon. 
Look for it to be out soon.


Monday, October 31, 2011

Rug Hooked Cat Purse


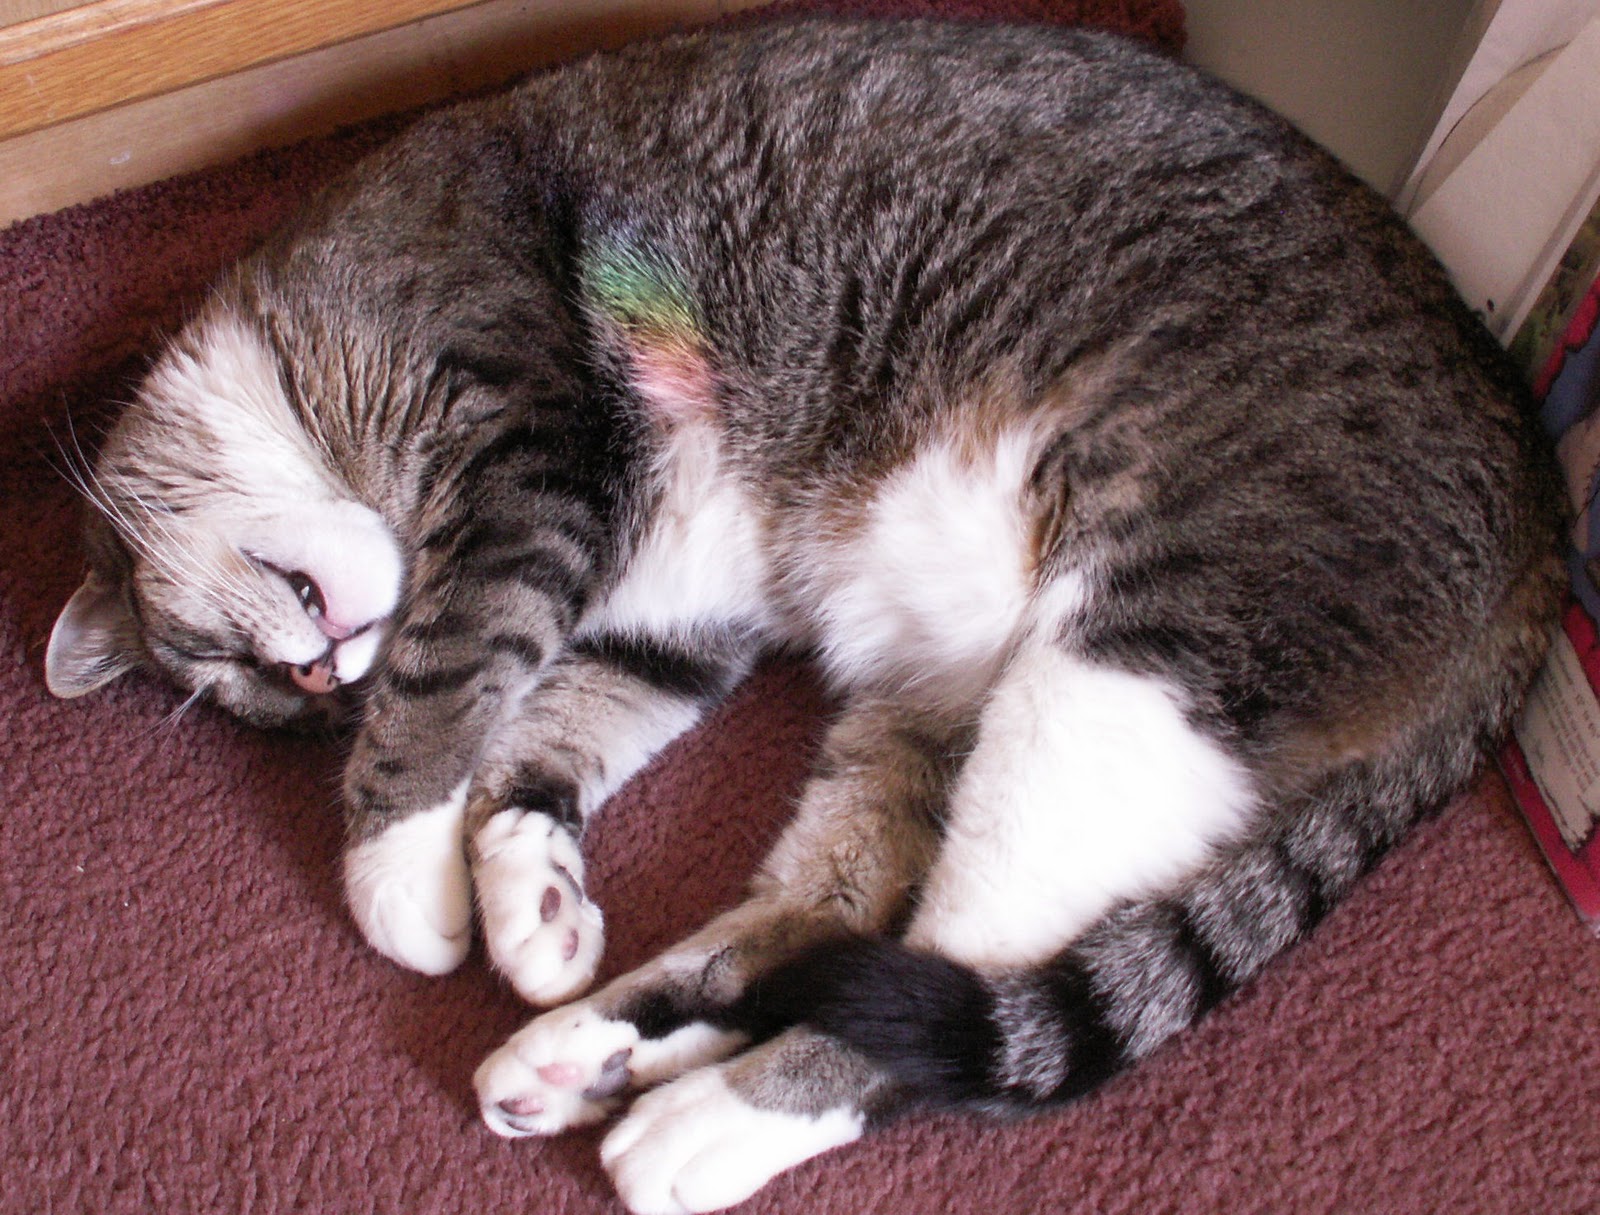
Our cat is the model for my Rug hooking project this week.  I am in the process of assembling a Rug Hooked Cat purse. I love when what I see in my creative minds eye actually comes together. 
This purse is coming along nicely. I hope to be able to teach how to make thispurse in a pattern. 
It may be about time to do another online Tutorial as well. So look for a photo soon on a wonderful 
Rug Hooked Cat Purse.


Wednesday, October 26, 2011

Teddy Bear William Potts OOAK


Meet William Potts

This is my second rug hooked Teddy Bear. The bear parts are all hand hooked with the tradition art of Rug Hooking. William Potts is rug hooked with dyed raw wool with silk noils added. This wool has added such a unique coloring to this bear. Notice his snout and paws are purple. William Potts has a bead packet inside of his body to give him addition weight. His eyes are glass buttons and I added mohair behind his eyes to give him addition facial character traits. William Potts’ nose and mouth were hand stitched with black floss. His legs pads have been needle sculpted adding dimension to them. The wool scarf around William Potts's neck with come with the bear. This Teddy Bear is 12” tall while sitting and 13” wide at the widest part. This bear is not a toy and should not be given to children.

If you like this bear get him while you can. I can not make another bear this color as I do not have enough of the dyed raw wool to do that. These are OOAK as no two will ever look exactly alike. The different raw wool used will always make them different.

This guy was given as a gift.


Saturday, October 22, 2011

Rug Hooked Teddy Bear

Here is the beginning of my next Rug Hooked Teddy Bear. 
I have had this wool roving with silk noils in it. In both purple and blue. 
This bear has been on my mind for a long time. It was time to hook it. 
The bear is all hooked and I have sewn the pieces together. 
I am beginning to stuff the parts. 
This is going to be a fun Blue and purple Rug Hooked Teddy Bear. 


Stay tuned for progress on this bear. 
I did a little research today on Rug Hooked Teddy Bears. 
There is not very much information on the web about this.

This bear will be for up for adoption soon.

Friday, October 14, 2011

Rug Hooked Teddy Bear

I have some wonderful purple and also blue wool with silk knolls in it. I have been wanting to make a teddy bear with these for a long time. I started this bear three days ago. It actually hooks up rather quickly. But I will have to wait and see what the actual finished bear will turn out like. 
Here is the one other Teddy Bear I made. 


Think I will be making another bear soon as well. 

Saturday, April 2, 2011

Tuesday, March 1, 2011

Lizzy Beth Bunny


 Lizzy Beth has found a new home
Sold

 Prims Nest


This rabbit has been on my mind for several years. As an artist there comes a time when what you have envisioned and often drawn must be created. This is the case with Bunny Rabbit Lizzy Beth. She wanted to be created and I am thrilled with the results.

Bunny Lizzy Beth is a 14 ½” tall hand hooked free standing doll.
She was hand drawn on linen and hooked with #8 cut strips of wool. The wools used are quality wools and some are hand dyed. The pattern of the wool used for her head, ears, hands and legs really gives her the appearance of having fur. Her dress is various shades of purple and the apron is various shades of pink. Every color used is muted. Notice the bow on her head matches the pink of her apron. The dress has a white collar at the neck, the bottom dress hem is also trimmed in white as well as the sleeves adding a lacy look to the dress. The neck collar also has a little rusty tin bell. Notice the ties of the apron on the back these are strips of wool. Around Lizzy Beth’s legs I created the look of a field of grass filled with raised flowers.

SOLD
or further details Please visit

Saturday, February 26, 2011

Punky Pumpkin Girl

Punky Pumpkin Girl 


Often you will find me creating three dimensional creations from what most people think of as one dimension art forms. Punky Pumpkin Girl is holding a little Lumina jack-o-lantern in her arms. The spider on her dress stands out even more with embroidery stitched long legs. Notice the fun red and white striped stockings on her legs. This OOAK creation is 5 ½” tall and she is weighted. Punky Pumpkin Girl was needle punched in over dyed six strand floss. As you can see from the two photos she is needle punched on both sides and is a free standing doll. This is the third in a series of Needle Punched little dolls that I am creating. This would be the perfect addition to your Halloween collectibles.
Pumpkin Girl can be purchased for $49.00 free shipping to the USA

Email me for purchase.

Wednesday, February 9, 2011

♥ Sneak Peek Dimensional Rabbit ♥


I like to take photos of works in progress as you see things from a different point of view this way. It is also good to hold the project up in front of a mirror to see a different perspective. 
This is my Dimensional Rug Hooked Rabbit in progress. 
As you can see the apron on the one side doesn't match so this showed me that I need to add more purple to the one side. This has been a fun project. She is over 14" tall. 
Stay tuned for more... on this primitive Dimensional Rabbit. 

This is a copy righted original design from me JoEllen of BeFRuiTFuL KReaTioNS.


Tuesday, February 8, 2011

Dimensional Rabbit Doll

This week I am trying my hand at a standing Dimensional Rabbit Girl Doll. She is over a foot tall. She will probably have a basket in her arms full of eggs. We will see.
I almost have the front part hooked on this Rabbit. 
I will probably put this up for direct purchase 
on 
The Prims Nest 


This is a new online market that will open it's doors to customers on March 1st.

Contest! Sign up for our newsletter for a chance to win!

Our Grand Opening is fast approaching! We are set to launch on March 1st, 2011 and want to make it fun by having a random drawing for our newsletter subscribers. What can you win? How about $50 cash? We will be selecting two (2) lucky subscribers and announcing the winners on our newsletter on April, 15th. To sign up to our newsletter click the image below and enter your e-mail address on the upper right corner of the top page graphic.


Saturday, February 5, 2011

Tip Using A Rug Hooked Frame for Needle Punch

 Tip Using A Rug Hooked Frame for Needle Punch

I use my rug hooking frame for keeping my fabric tight for punch needle projects. Most fiber artists use Weavers Cloth for their needle punch projects. The cost of this fabric can get pricey. My tip of the day is to sew the Weavers cloth into another piece of fabric. You can pick up fabric at yard sales or the sales fabric at fabric stores. You can reuse this over and over. 

Just cut a piece of your inexpensive fabric large enough to fit on your frame and large enough to go around your needle punch piece. Fold the outer edge under and sew to keep the outer edge from fraying. The with a pencil and ruler draw out a section in the center that is a little smaller then the outer edge of your weavers cloth. Then cut this center section out. Kind of like a picture frame goes around a picture. Pin your weavers cloth to the outer fabric and sew your weavers cloth into the opening. 

When you are done punching your piece just cut out close to where you sewed the weavers cloth to the other fabric. 

Reuse this outer picture frame fabric over and over again.

To keep the weavers cloth from fraying around the edge and getting into your needle punch project while working it just fold under the edge and sew before you attach it to the outer fabric.
I have not found this to be much of a problem so I do not do this step. 

LinkWithin

Related Posts Plugin for WordPress, Blogger...