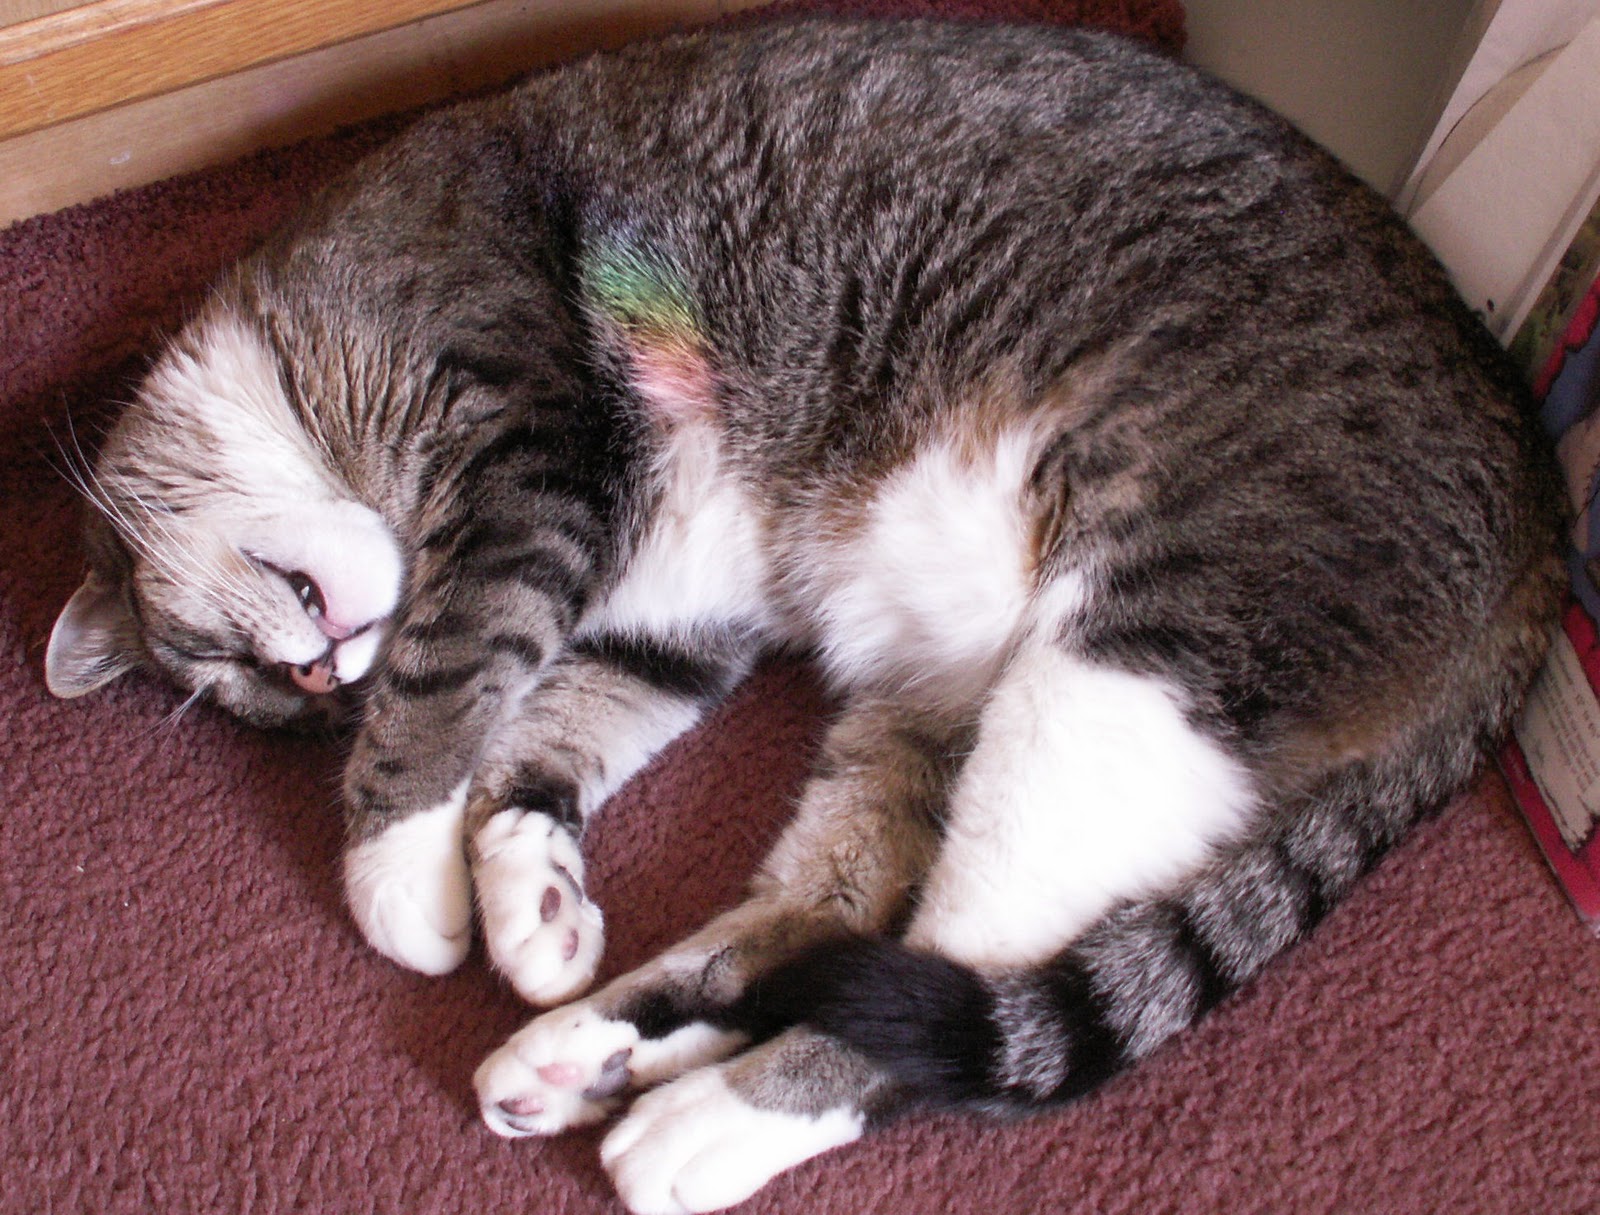
Many people have asked that this be made into a pattern.
I hope to make this happen next month.
Showing posts with label primitive rug hooking. Show all posts
Saturday, December 17, 2011
Monday, November 21, 2011
Rug Hooked Cat Purse Pattern
Rug Hooked Cat Purse
Been working to get this pattern written so I can share with all the cat lovers who have a
passion for rug hooking. This cat purse is approximately 9" wide by 7" high. These measurements do not include the cat tail handle. This is a paper pattern with lots of pertinent photos to help you create your own cat purse. Hints for how to create your own unique cat purse based on a cat of your choice. Detailed instructions are included for how to assemble your cat purse.
Note this is a rug hooking project not latch hook. You need to know how to rug hook to create this.
Cost $14.95 free shipping USA
contact me for out of USA purchases.
If you would like me to make you a purse from a photo of your cat email me.
Wednesday, November 16, 2011
Rug Hooked Cat Purse Pattern
Today finds me finally working on the instructions for my Rug Hooked Cat Purse.
I am including a lot of directions in how to make this purse your own. If you have never purchased one of my rug hooking patterns then you need to know that I include a lot of photos in my patterns. My motto is photos speak far louder then the written word. I am a visual person. Thus the photos. I am adding directions on planning your own personal cat purse. My cat is a black and grey tabby. Maybe yours is a Siamese. I am explaining how to achieve your own cat purse. Isn't that part of the fun of rug hooking taking something and making your own personal hooked piece from it.
Not sure when the pattern will be on the market but I hope real soon.
Look for it to be out soon.
Monday, October 31, 2011
Rug Hooked Cat Purse
Our cat is the model for my Rug hooking project this week. I am in the process of assembling a Rug Hooked Cat purse. I love when what I see in my creative minds eye actually comes together.
This purse is coming along nicely. I hope to be able to teach how to make thispurse in a pattern.
It may be about time to do another online Tutorial as well. So look for a photo soon on a wonderful
Rug Hooked Cat Purse.
Tuesday, March 1, 2011
Lizzy Beth Bunny
This rabbit has been on my mind for several years. As an artist there comes a time when what you have envisioned and often drawn must be created. This is the case with Bunny Rabbit Lizzy Beth. She wanted to be created and I am thrilled with the results.
Bunny Lizzy Beth is a 14 ½” tall hand hooked free standing doll.
She was hand drawn on linen and hooked with #8 cut strips of wool. The wools used are quality wools and some are hand dyed. The pattern of the wool used for her head, ears, hands and legs really gives her the appearance of having fur. Her dress is various shades of purple and the apron is various shades of pink. Every color used is muted. Notice the bow on her head matches the pink of her apron. The dress has a white collar at the neck, the bottom dress hem is also trimmed in white as well as the sleeves adding a lacy look to the dress. The neck collar also has a little rusty tin bell. Notice the ties of the apron on the back these are strips of wool. Around Lizzy Beth’s legs I created the look of a field of grass filled with raised flowers.
SOLD
or further details Please visit
Wednesday, February 9, 2011
♥ Sneak Peek Dimensional Rabbit ♥
I like to take photos of works in progress as you see things from a different point of view this way. It is also good to hold the project up in front of a mirror to see a different perspective.
This is my Dimensional Rug Hooked Rabbit in progress.
As you can see the apron on the one side doesn't match so this showed me that I need to add more purple to the one side. This has been a fun project. She is over 14" tall.
Stay tuned for more... on this primitive Dimensional Rabbit.
This is a copy righted original design from me JoEllen of BeFRuiTFuL KReaTioNS.
Monday, August 23, 2010
Rug Hooked Jack-O-Lantern
SOLD

SOLD

Want one contact me for special order for a similar pumpkin.
This primitive Jack-O-Lantern is created with the fiber art called Rug Hooking. Strips are hand hooked, through a backing fabric, one loop at a time in the art of Rug hooking. The backing I used was monks cloth and this Pumpkin is hooked with wool strips in a #8 cut. Much of the wool is hand dyed in fun fall tones. Just look at that awesome stick stem. This is an original OOAK creation.
This Jack-O-Lantern free stands and is 12" high and 7" wide.
Friday, August 20, 2010
Rug Hooking Basics
Rug Hooking Basics
Backing Fabric: Open weave fabrics. Linen, Monks cloth, burlap fabrics are the most common foundation used.
Loop Material: Wool strips and wool yarn. Most common.
Rug hook: A hook that looks like a crochet hook. Most have a wooden base. Many sizes and kinds available. The hook you choose should correspond to the width of the strips you are using in your project.
Rug Frame: Used to keep the foundation fabric tight so you can push the rug hook through the woven fabric.
Loops are pulled through the backing fabric with a rug hook. Attention must be given to the height of loops. The goal is to try to have even height loops with spacing of loops consistent. You do not want the foundation to buckle because you are hooking to tight or have the foundation show through because you are hooking to loose. The loops if hooked right will actually keep the strip tight enough that it will not easily unloop.
Many patterns are available for Rug Hooking artists. Most designs come drawn onto the foundation of your choice. The designer must keep the design consistent with the warp and weave of the fabric backing. The pattern will usually come already sewn or surged around the outer edge to keep it from unweaving. Some patterns are just the paper pattern and the pattern must be transferred to the backing with a marker. Most rug hookers use rub a dub markers to draw on the backing. There are primitive designs usually hooked with wider width wool strips, like a #8 cut. Or finer designs hooked with rug yarn or other yarn. Or with very narrow strips of wool #2 or #3 cuts. (see chart below) You can hook with what ever fiber you want.
The wool strips can be cut with a good pair of scissors but most rug hookers will purchase a wool stripper. There are various wool strippers on the market. There are cutting wheels in the wool stripper that cut the strips into certain widths. There is a number scale for width of strips that correspond to inch scale measurements. Primitive rug hookers use wider width for their designs. You get more detail the finer your cut of wool strip.
The Scale below shows you the cutter wheel # you would need to cut the widths shown
#2 cuts 6 strips 1/16" wide
#3 cuts 6 strips 3/32" wide
#4 cuts 4 strips 1/8" wide
#5 cuts 3 strips 5/32" wide
#6 cuts 3 strips 3/16" wide
#7 cuts 2 strips 7/32" wide
#8 cuts 2 strips 1/4" wide
#3 cuts 6 strips 3/32" wide
#4 cuts 4 strips 1/8" wide
#5 cuts 3 strips 5/32" wide
#6 cuts 3 strips 3/16" wide
#7 cuts 2 strips 7/32" wide
#8 cuts 2 strips 1/4" wide
The backing fabric (which your pattern is drawn on) must be tight to open the weave so you can see the holes between the warp and weave threads. There are many frames available on the market. You can start with a good embroidery hoop. The thicker wooden kind would work best but a real rug hooking frame will be far easier to work with. The link below shows the, on a curve, gripper strips that are preferred to hold the pattern in place. A gripper strip has many metal pieces, kind of like a hairbrush but metal pieces that grip onto your fabric backing. The grippers MUST be on a curve in order to work. There are frames that just sit in your lap, or floor stands to hold the frame or lap stands to hold the frame There must be room under the frame for your hand to work under the frame. Both hands are used to rug hook. Since you are using both hands you can see why a frame would be preferred over an embroidery hoop.
Here is my favorite frame so far. It has a locking system which seems to keep the fabric nice and tight with out loosing up.
The rug hook is inserted in the hole created as the warp and weave cross. Care is given to not put the hook through individual threads of the warp and weave threads. Working from under the pattern you place the wool strip with you fingers under the hole you want to bring a loop through and at an angle push the hook through the hole from the top side, grab the wool strip from your finger and pull it up to form a loop. The wool is placed over the hook from the bottom of the backing fabric and the hook pulls the loop through the backing. The wool strip is pulled up taller then needed and then pulled back down to the height desired. This will help you to be consistent with height of the loops. A good rule is the loops should be the height of the hook or the width of the wool strip. A rug hooker will develop their own preferred style as they grow in the art of rug hooking. There are many hooks on the market here is a link that will show you some.
Most rug hookers start hooking the pattern design from the middle outward. Hooking the outside of each element first then working toward the middle of the element in the drawing. If you were drawing a design you would draw the outside then the inside details. That is how you would hook.
Are you interested in learning more about the art of rug hooking? I would suggest getting a book. You could start with one from your local book store or even better borrow one from your local library. That is how I started. The next step would be to assemble the tools of the trade. You could purchase a kit. Most of the kits will have the design on the backing, enough wool or yarn to finish the design and many will come with a hook. At that point you would only need to purchase something to hold the backing tight.
http://www.rughooking101.com/ A great site for many of the rug hookers needs
http://www.searsportrughooking.com Another good site for the rug hookers needs
http://www.jeannesullivandesign.com/CustomerCare/Tutorials/RugHooking.aspx This is a good visual of how to rug hook
Tuesday, August 17, 2010
Friday, August 13, 2010
Dimensional Rug Hooked Jack-O-Lantern Pumpkin
This is a large fully dimensional Rug hooked Jack-O-Lantern Pumpkin.
It has a flicker lite inside that is battery operated.
Look for this to be available for purchase very soon.
Thursday, April 29, 2010
Thursday, January 28, 2010
Bessy Angel Bunny
I finally tried my hand at Needle Punch. This little gal is of course 3 dimensional. She is not yet finished but couldn't wait to share her with you all. The back side is of course also finished. She is free standing and weighted.
The first photo was before I painted the eggs and added other details. So you have before and after photos. As I stated above the back side is also finished. If you haven't tried your hand at punch needle embroidery give it a try. It is a lot of fun.
On Ebay Now
The first photo was before I painted the eggs and added other details. So you have before and after photos. As I stated above the back side is also finished. If you haven't tried your hand at punch needle embroidery give it a try. It is a lot of fun.
On Ebay Now
Thursday, January 14, 2010
Rug Hooked Teddy Bear
Sewed the fabric bear yesterday and it is a good thing that I tried this before I hooked the pieces.
The pads of the bear feet do not fit well into the leg parts so will choose a different pattern for this bear. In fact I had to cut some of the leg to make it fit.
My first rug hooked Teddy Bear I did not do this initial first step. Lucky the Ending was good.
Here is a picture of my first bear.

Do you want to make your own Rug Hooked Teddy Bear?
It is easy to do this.
The hardest part of dimensional rug hooking is the assembly. I hope to help you out with different steps here and in an online tutorial.
Would you like an on line tutorial about the Teddy Bear?
JoEllen
Tuesday, January 12, 2010
Rug hooking a Teddy Bear
This week or next week I hope to start another Teddy Bear that is rug hooked. I am going to try my hand at jointing the arms and legs on this bear.
I will probably be using cleaned raw mohair to hook this bear with. I am thinking about a white bear with pastel colored ear and paw inserts. But we will see what it ends up looking like.
First I need to sew a cloth bear to make sure that this pattern will work for rug hooking. That is the first thing I recommend is to do a test run in fabric of something you are thinking about creating in the art of dimensional rug hooking. It would be very disappointing to do all your rug hooking and then find out the pieces are not going to go together.
If you have any questions about this art form feel free to ask and I will try my best to answer it.
Stay tuned for the free online dimensional rug hooking class. Hope to get to that soon.
JoEllen
Friday, January 1, 2010
Look for new things here in the year 2010
We have had a really busy summer and holiday season. Been working many hours. But this is past for a while and I hope to update this blog real soon. Also look for a free how to dimensional rug hooking class this year.
JoEllen
Tuesday, August 25, 2009
Monday, June 22, 2009
Thinking about doing
I think I am going to try to put together a booklet on how to do 3-D or Dimensional Rug hooking. This would be a handie little guide that would include the in's an outs of this craft. Including tips, assembling stitches etc.
Right now it is just in the thinking stage.
JoEllen
Right now it is just in the thinking stage.
JoEllen
Wednesday, June 17, 2009
Rug Hooked Santa
I am working on a Rug Hooked Santa doll.
This will be a two sided Windy Santa doll. His robe is flowing in the wind.
I hope to make it free standing.
It will have a front and a back side.
Wonderful dark rich earth tone reds and blues.
He has a roving beard and mustache.
Looking forward to sharing this will everyone.
JoEllen
This will be a two sided Windy Santa doll. His robe is flowing in the wind.
I hope to make it free standing.
It will have a front and a back side.
Wonderful dark rich earth tone reds and blues.
He has a roving beard and mustache.
Looking forward to sharing this will everyone.
JoEllen
Thursday, April 23, 2009
Wednesday, April 22, 2009
Doing the Happy dance here
My BHR challenge is finally all hooked. I am so glad this is all hooked. Have to go over the backside and check things there. I did notice a few loops had pulled back through. I am going to wait til next summer to do the binding on this rug. I am not sure what I want to do with it. It will probably go on a wall someday. But I am not sure. I am just so happy that I finished hooking it. I never take on time consuming projects. Will get a new picture and post it here.
JoEllen
JoEllen
Labels:
BHR challeng,
primitive rug hooking,
rug hooked,
rug hooking
Subscribe to:
Posts (Atom)